This Is How to Change Your Belly Button Ring
Posted by Jessy L. on 4th Apr 2023
Posted by Jessy L. on 4th Apr 2023

In 2016, almost 31 percent of piercings had complications.
Yes, belly button piercings are very common, but do you know the aftercare that's involved?
More importantly, do you know how to change your belly button ring?
If you're not sure, or just need a refresher, keep reading to find out.
Having everything you'll need to change your belly button ring makes the entire process easier to handle. To change your belly button piercing you'll need:
Once you've gathered everything, place it on a paper towel or clean cloth so it's easy to reach.
This rule goes for any piercing. No matter how old or healed it is, your hands need to be cleaned with antibacterial soap before you touch any jewelry.
The rubbing alcohol is not meant for your body. It's meant to clean the new jewelry. However, tea tree oil may work for this step too.
Dip the new belly button ring into a small amount of alcohol, or clean it off using your q-tips. Allow it to dry before you place it anywhere near the belly button piercing.
If you'd like, rub a small amount of tea tree oil on the new jewelry using a q-tip before inserting it.
Once you've cleaned the new jewelry, it's time to clean your piercing, as well as the old jewelry.
Grab your saline solution. Clean the area around your belly button piercing with a cotton ball, and the piercing itself with a q-tip. This prevents any dirt from sticking around during the process, and also acts as a lubricant for sliding the new jewelry in.
While you should move quickly, you shouldn't rush this process. Doing so could result in your hurting yourself, or dropping the jewelry and having to start the process over again.
Gently remove your old jewelry. Be careful to not drop the ball, mostly because trying to find it again can be difficult.
Now it's time to slide in your new belly button ring!
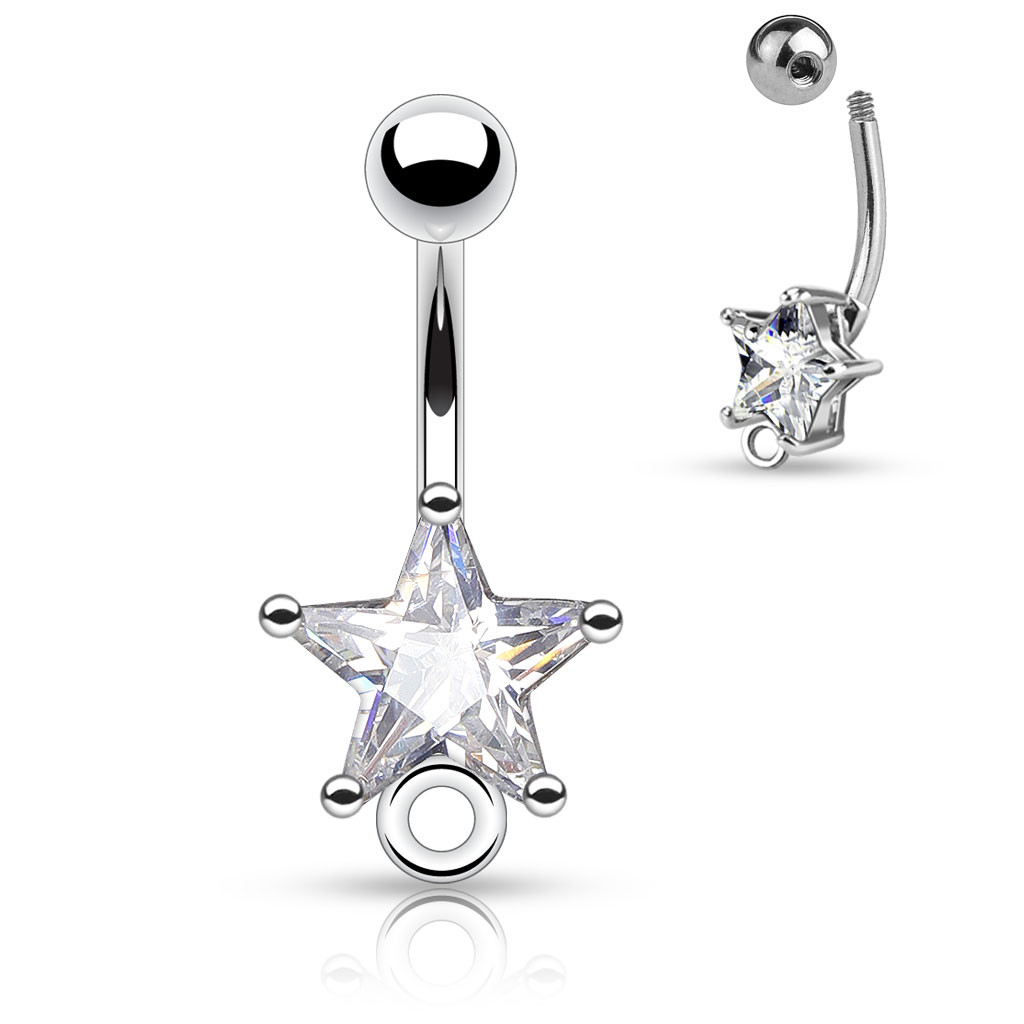
Make sure you're inserting in the right direction. In most cases, the belly button ring needs to slide up, and the ball gets screwed on from the top.
Gently guiding it through the piercing is easier than forcing it through.
Keeping the piercing or the jewelry lubricated in some fashion makes the process easier, whether your piercing is still wet from being cleaned or you decided to put tea tree oil on it.
You wouldn't use a dirty dish and immediately put it back in its home, would you? No, you'd more than likely make sure it's clean first.
Whether you plan on wearing it again one day or are just going to store it with other jewelry, you need to clean the old belly button ring once you're done with it.
Belly button piercings can take anywhere from nine to twelve months to heal. This is because your belly button is an area associated with constant movement, and it can hard to keep it from being touched for long periods.
During this time, you shouldn't change your belly button ring. It should only be changed after it's fully healed. It's also a smart idea to have your piercer change it the first time around.
Call ahead to see if they're available to do so, and then don't be afraid to ask questions while you're there. Ask them for specific instructions for your piercing, and make sure your new belly button ring is a good metal (surgical or stainless steel works best).
If irritation occurs after you change your belly button ring, try soaking your piercing in sea salt solution.
To make a sea salt soak, mix 1 teaspoon of sea salt with half a cup of warm water. You shouldn't use iodized salt, kosher salt, or Epsom salts, but you can use a store-bought solution if you wish. Often, your piercer may have a sea salt spray you can buy.
Once you've obtained your sea salt solution of choice, place it into a small glass.
There are two methods you can use to suction the glass to your belly button. Place the rim of the glass below your belly button, and then quickly tip it over. Or lean the top half of your body over the cup, place it on, and lean back up. Either way, you'll know when you're good to go.
Allow the piercing to soak for 10 to 15 minutes. Once done, rinse the area and dry it off.
Again, your piercer is the best person to ask about this. Better yet, ask what size you're getting pierced with when it happens.
The most common needle size for a belly button ring is 14 gauge.
If this isn't your first time changing your belly button ring then you might know this rule. But you should move quickly.
Don't rush, but don't allow your piercing to sit jewelry-free for more than a few minutes at a time. If you do this, it could close. How quickly depends on how long you've had the piercing.
Tea tree oil has anti-inflammatory, antimicrobial, and antiseptic properties. It can be helpful in belly button piercing aftercare, but it may not work for everyone.
It should never replace your piercer's recommended cleaning regimen, but it can act as a nice complimentary technique if irritation occurs on your piercing. Be sure to always, always, always ask your piercing before trying new products on your piercings though.
Don't Go Swimming for a Bit
If this is your first time changing your belly button ring, it's smart to avoid any body of water until it's fully healed. This includes hot tubs and pools.
If you can't avoid the water, however, invest in completely waterproof bandages. Make sure they're big enough to wrap around the entirety of your belly button and try a test run in the shower. If you get out and your piercing is dry, you should be good to go.
Just keep a close eye on it throughout your time in the water. If the piercing gets wet, immediately get out and clean it.
If you work out, play a sport, or are going to be outside and sweaty for a long time, consider taking supplies to clean your belly button once you're done.
You don't have to excessively scrub your piercing, but cleaning it once your activities have stopped for the day is a great idea. Especially if you know you're not going to be home soon after that.
If you're going on a trip, there is no doubt that you should take supplies to clean your belly button ring. Especially if you plan on changing it while you're away from home.
Also, return to your piercer if you have any issues changing your belly button ring. If it won't come out after you've cleaned it, or it hurts to touch, it's best to ask a professional.
If something goes wrong with your piercing, do not do anything until you've consulted your piercer.
In some cases, the piercing can be infected and you may need to see a doctor. Again, ask your piercer if this step is necessary.
You should not touch your piercing if it's red, or if a discharge is forming around the piercing. This either means the piercing is still healing or it may be infected.
If the area around the piercing is warmer than the rest of your body, and the piercing itself is painful, return to your piercer immediately. They can direct you on what to do from there.
This goes without saying, but seriously. Make sure you trust yourself to handle the process before you remove any of your jewelry.
Refer back to this article on how to change your belly button ring whenever you need it, but be sure to ask your piercer if your piercing is healed enough to change it for the first time.
For other information on piercings and body jewelry, check out the rest of our blog today.